
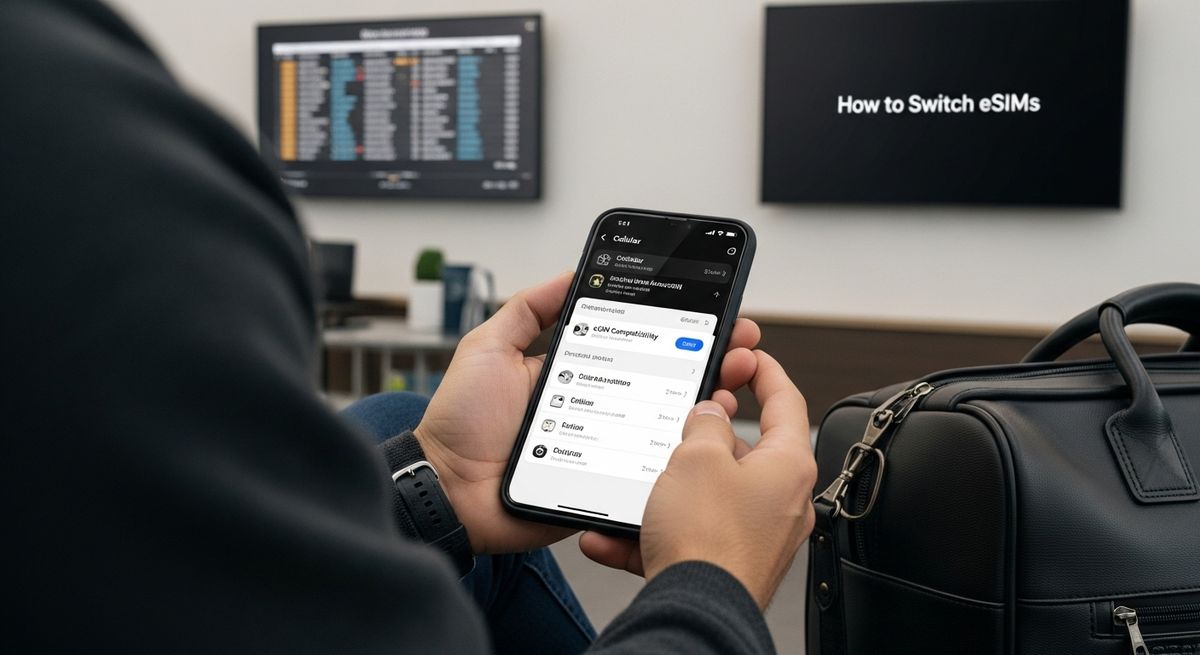
How to switch eSIMs, a complete guide for travelers
More travelers are ditching traditional SIM cards for eSIMs, unlocking hassle-free connections across borders. Yet despite the buzz, most people do not realize that even with a compatible phone, you can still run into issues if your device is not carrier-unlocked or your old eSIM profile is not removed properly. That digital switch you expected to take seconds can leave you stranded without service unless you know the real steps, and the simple tricks that almost everyone skips.
Quick summary
1. Confirm eSIM Compatibility First
Check your device model against eSIM specifications to ensure it supports eSIM functionality before proceeding.
2. Gather Carrier Details Before Switching
Collect necessary information from your mobile carrier, like account status and eSIM activation steps, to facilitate a smooth transition.
3. Accurately Access eSIM Settings
Navigate your smartphone’s settings accurately to add the new eSIM plan using provided QR codes or activation details.
4. Remove Old eSIM Profiles if Necessary
Ensure you remove any outdated eSIM profiles to avoid connection conflicts and confirm service cancellation with your carrier.
5. Test the eSIM Connection Thoroughly
Conduct tests for data connectivity and signal strength after setup to confirm the new eSIM is functioning properly.
Step 1: Check device compatibility for eSIM switching
Switching to an eSIM starts with understanding your device’s capabilities. Not every smartphone supports this digital technology, making device compatibility your crucial first step in the international travel connectivity journey. Modern travelers need a quick and reliable method to confirm their device can handle eSIM functionality.
Begin by identifying your smartphone’s make and model. Apple iPhone models starting from iPhone XS and newer, Google Pixel devices from Pixel 2 onwards, and many Samsung Galaxy models released after 2018 typically support eSIM technology. For precise confirmation, navigate to your device settings or check the manufacturer’s official website. Most smartphones have a specific section dedicated to cellular or mobile plan settings where eSIM compatibility is indicated.
Users with older devices might need alternative solutions. If your current smartphone doesn’t support eSIM, consider checking with your mobile carrier about compatibility or exploring device upgrade options. Some carriers offer trade-in programs that can help you transition to an eSIM-compatible device without significant financial strain.
To verify compatibility definitively, visit our guide on eSIM network compatibility which provides detailed insights into device requirements. Look for specific indicators like:
- Dual SIM functionality
- Settings menu showing eSIM or digital SIM options
- Manufacturer specifications confirming eSIM support
- Recent smartphone model (typically manufactured after 2018)
Remember that compatibility extends beyond just having an eSIM-capable device. Your smartphone must also be carrier-unlocked, allowing you to add and use international eSIM plans seamlessly. Check with your current mobile provider to confirm your device’s unlock status before proceeding with eSIM activation.
Successful device compatibility verification means you’re ready to move forward in your eSIM switching process. When you can confidently confirm your smartphone supports eSIM technology, you’ve completed this critical first step towards hassle-free international mobile connectivity.
Step 2: Gather necessary details from your carrier
After confirming your device’s eSIM compatibility, the next critical step involves collecting essential information from your current mobile carrier. This process ensures a smooth transition and prevents potential connectivity interruptions during your international travels. Preparing the right documentation and understanding your carrier’s specific eSIM policies will save you time and potential frustration.
Contact your mobile carrier directly through their customer service line or visit a local store. Prepare a list of specific questions that will help you navigate the eSIM switching process. You’ll want to confirm whether your current plan supports international eSIM activation, the specific steps required for unlocking your device, and any potential fees associated with switching. Some carriers have straightforward online processes, while others might require more personalized assistance.
Key information to request includes your current account details, device IMEI number, and any existing mobile plan restrictions. Obtaining a carrier unlock confirmation is crucial if you haven’t already done so. This verification ensures you can add and use international eSIM plans without restrictions. Carriers typically provide this information through their customer support channels or online account management systems.
Your carrier conversation should cover several critical aspects:
- Confirm current plan’s international roaming capabilities
- Request specific eSIM activation instructions
- Understand any potential unlock fees or requirements
- Obtain necessary account authentication details
Consider exploring our support options if you encounter challenges during this process. Some travelers find it helpful to have their account information and identification ready during these conversations to expedite the process.
Verification of this step means you have clear, written documentation from your carrier about your eSIM switching process. This might include email confirmations, support ticket numbers, or detailed notes from your carrier interaction. By thoroughly gathering these necessary details, you’re setting the stage for a seamless international mobile connectivity experience.
Step 3: Access your device’s eSIM settings
Navigating your smartphone’s eSIM settings represents a pivotal moment in your international connectivity journey. This step transforms your digital preparation into practical action, allowing you to activate and manage your new mobile plan. Different smartphone brands have unique paths to accessing eSIM settings, making careful navigation essential.
For iPhone users, the process begins by opening Settings and selecting Cellular or Mobile Data. Look for an option labeled ‘Add Cellular Plan’ or ‘Add Data Plan’. Apple devices typically present a straightforward interface where you can scan a QR code provided by your mobile carrier or manually enter activation details. Android users will find similar settings under Network and Internet or Cellular settings, though the exact menu names might vary slightly depending on your specific device manufacturer.
Be prepared to encounter minor variations in the setup process. Some smartphones require you to first remove any existing physical SIM before adding an eSIM, while others allow simultaneous management. Patience and careful reading of on-screen instructions are key to successful eSIM activation. If you encounter any confusion during this process, most modern smartphones offer built-in help functions or direct links to manufacturer support resources.
Key actions during this step include:
- Locating the cellular or mobile data settings menu
- Finding the eSIM or digital SIM activation option
- Preparing any carrier-provided activation codes or QR codes
- Ensuring a stable internet connection during setup
If you need additional guidance, check out our comprehensive support resources for step-by-step assistance. Remember that successful eSIM settings access means you can see a new cellular or data plan option within your device’s network settings. Verification involves confirming the new plan is visible and selectable, indicating your device has properly recognized the eSIM configuration.
This technical step bridges your previous carrier research with the exciting prospect of seamless international mobile connectivity. By carefully accessing your device’s eSIM settings, you’re transforming digital potential into real-world travel readiness.
Step 4: Remove the old eSIM profile if needed
Removing an old eSIM profile is a critical step in managing your international mobile connectivity. This process ensures clean, efficient switching between mobile plans and prevents potential conflicts or unexpected charges. Not all travelers will need to remove their existing eSIM, but understanding the process can save significant time and potential billing complications.
Before initiating the removal, confirm you have an alternative active cellular connection or stable Wi-Fi network. This precaution prevents potential communication disruptions during the eSIM profile deletion. Most smartphones require you to access cellular settings, where you’ll find options to manage existing digital SIM profiles. For iPhone users, navigate to Settings > Cellular or Mobile Data > Cellular Plans, where you can view and remove specific eSIM profiles. Android devices typically offer similar menu structures, though the exact pathway might vary slightly depending on your specific device manufacturer.
Carrier communication remains crucial during this step. Contact your current mobile service provider to confirm the complete cancellation of the associated mobile plan. Simply deleting an eSIM profile does not automatically terminate the cellular service, which could result in continued billing. Some carriers require formal service cancellation through their customer support channels or online account management systems.
Key considerations during eSIM profile removal include:
- Ensuring an alternative active internet connection
- Verifying no ongoing service commitments
- Checking for any potential early termination fees
- Confirming complete plan cancellation with your carrier
Our support team can provide additional guidance if you encounter any challenges during this process. Successful eSIM profile removal means your device shows only the intended active cellular or data plans, with no remnant profiles causing potential connectivity conflicts.
This methodical approach to managing your mobile profiles ensures a smooth transition between international mobile plans. By carefully removing unnecessary eSIM profiles, you’re optimizing your device’s connectivity and preventing potential technical or billing complications during your travels.
Step 5: Add the new eSIM profile using a QR code
Adding a new eSIM profile transforms your digital connectivity, turning a simple QR code into a gateway for international mobile access. This step represents the culmination of your preparation, translating carrier details into an active mobile plan. The QR code serves as your digital key, instantly configuring your smartphone for global connectivity.
Ensure you have a stable internet connection before beginning the setup process. Open your smartphone’s cellular or mobile data settings, typically found under Settings > Cellular or Network and Internet. Look for an option labeled ‘Add Cellular Plan’ or ‘Add eSIM’. Most modern smartphones will activate the device’s camera automatically, prompting you to scan the QR code provided by your mobile carrier or eSIM service provider.
Position the QR code carefully within the camera frame, ensuring clear visibility and proper alignment. Your device will automatically recognize and process the configuration.
Some carriers might require additional verification steps, such as entering a confirmation code or providing account authentication. Pay close attention to on-screen instructions, as each carrier might have slightly different activation protocols. If the initial scan fails, don’t panic. Simply request a new QR code from your provider or manually enter the activation details if an option is available.
Key actions during eSIM profile setup include:
- Ensuring a stable internet connection
- Locating cellular or mobile data settings
- Scanning the carrier-provided QR code
- Completing any additional verification steps
Our support team stands ready to assist if you encounter any challenges during the setup. Successful eSIM profile setup is confirmed when your device displays the new cellular plan in your network settings and indicates an active connection.
This digital transformation represents more than a technical process. It’s your passport to seamless international mobile connectivity, enabling you to stay connected across global destinations with unprecedented ease.
By mastering the QR code setup, you’re embracing the future of mobile communication.
Step 6: Test the new eSIM connection to ensure functionality
Testing your newly added eSIM is the final crucial step in ensuring seamless international mobile connectivity. This verification process transforms your digital preparation into real-world reliability, confirming that your mobile plan works exactly when and where you need it. A thorough connection test prevents potential communication disruptions during critical travel moments.
Begin by toggling your device’s airplane mode on and off, which often triggers a network reconnection and helps establish the new eSIM’s connection. Open several internet-dependent applications like messaging services, web browsers, and email to comprehensively verify data connectivity. Pay attention to signal strength indicators and network type displayed in your device’s status bar. Some travelers find running a quick internet speed test provides additional confirmation of data performance and network stability.
If you encounter any connection issues, don’t panic. First, double-check that you’ve selected the correct cellular plan in your device settings.
Key verification steps include:
- Toggling airplane mode
- Running internet speed tests
- Checking signal strength indicators
- Verifying data roaming is enabled
- Testing multiple internet-dependent applications
Explore our European data plans if you need additional international connectivity options. Successful eSIM testing means consistent, reliable internet access across multiple applications, with strong signal strength and uninterrupted data performance.
This final step transforms your technical setup into a reliable travel companion. By meticulously testing your new eSIM connection, you’re ensuring smooth, stress-free communication throughout your international journey.
Ready to switch to international eSIM without the stress?
Trying to change eSIMs before your next trip can feel confusing. The article shows there are many steps, from checking device compatibility to making sure your plans work overseas. If you are worried about missing out on reliable connections or paying too much in roaming fees, KnowRoaming is built for travelers like you. Using KnowRoaming’s platform, you go from long preparation to instant activation by following clear guides for device setup, QR code setup, and effortless eSIM management for every country you visit. You also get transparent pricing and support at each stage so there are no surprise bills or hidden charges when you switch.
Stop letting complicated eSIM switching take the excitement out of your travels. Explore our eSIM activation experience to see how simple it is to manage global plans or visit KnowRoaming’s main site now to get started. Get your eSIM ready before you board and enjoy cost-effective data everywhere your adventure takes you.
Domande frequenti
How to use an eSIM while backpacking is surprisingly simple. First, ensure your phone is unlocked and eSIM-compatible. Then, download the provider's app (like KnowRoaming's). You can choose your plan and add the eSIM digitally through the app, often by scanning a QR code. Once added, just enable data roaming for your eSIM, and you're ready to go, no physical cards or airport kiosks needed.
No swapping SIM cards, no kiosk queues at the airport, set it up once and it's ready every time after.
With KnowRoaming, setup takes less than five minutes. Using the automatic setup in the KnowRoaming app, you can download and add your eSIM in just a few taps. This makes it one of the fastest and most reliable ways to get connected before your trip.
Simply add the eSIM profile on your unlocked, eSIM-compatible device before you travel. Once you arrive in a supported country, turn on your eSIM, and you'll be connected!
You can buy your eSIM right before you leave, or when you arrive at your destination. It is an easy process that simply requires a stable Internet connection.
If you delete the eSIM profile from your phone, it can no longer connect to the network on that plan, although the plan itself is not canceled. To get it back, rescan the QR code you were sent with your eSIM purchase, or re-add it from the KnowRoaming app, and you can be up and running again quickly.
You can check your device’s compatibility by identifying its make and model. Most smartphones from Apple, Google, and Samsung manufactured after 2018 support eSIM functionality. Check your device settings under cellular or mobile plan settings for eSIM options, or refer to the manufacturer’s official website for specifics.
Contact your mobile carrier to confirm if your current plan supports eSIM activation, request specific activation instructions, and check for any potential fees or requirements for unlocking your device. It’s also essential to obtain your account details and device IMEI number for a smooth transition.
To access eSIM settings, go to your device’s Settings menu and find the section for Cellular or Mobile Data. Look for options like ‘Add Cellular Plan’ or ‘Add eSIM’. The exact pathway may vary slightly depending on whether you have an iPhone or an Android device.
If you face connectivity issues, first toggle your device’s airplane mode on and off, then check that you’ve selected the correct cellular plan in the settings. Ensure data roaming is enabled and run an internet speed test. Restarting your device can also help resolve minor connection problems.