
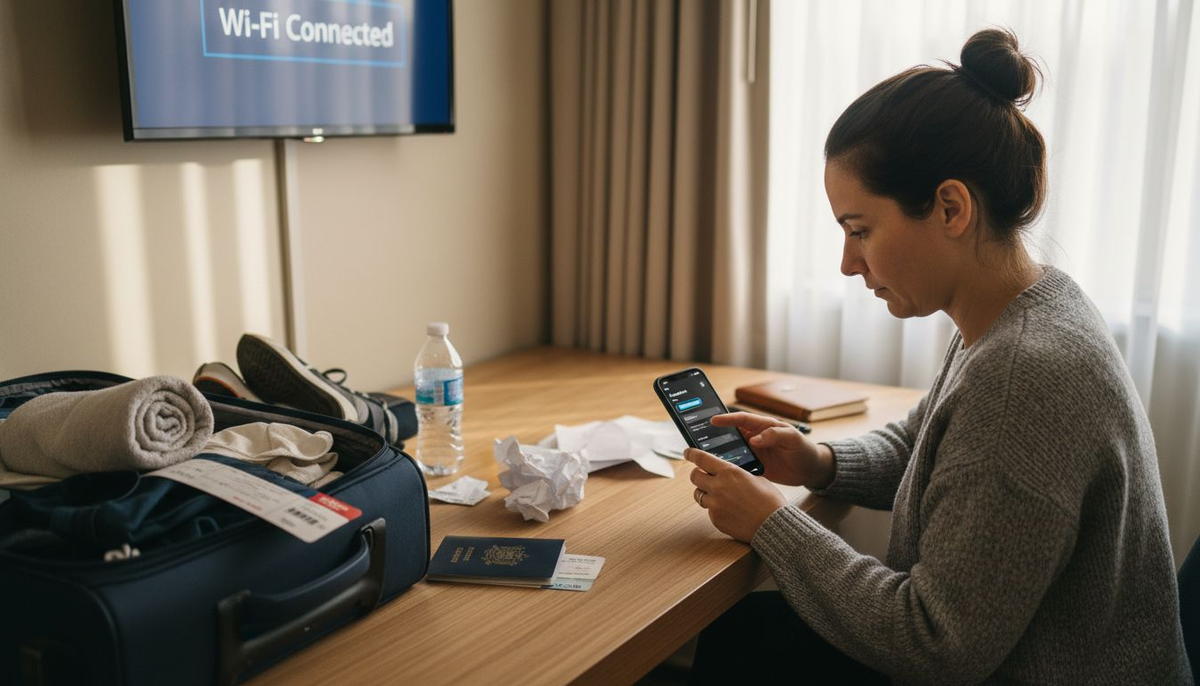
Add cellular plan iPhone for seamless international travel
Landing in Italy or Canada for a meeting can mean scrambling for a reliable mobile connection. For busy travelers, avoiding expensive roaming fees and switching SIM cards is a constant challenge. Preparing your iPhone for an eSIM activation lets you skip the hassle and stay seamlessly connected throughout Europe and North America. This guide provides the practical, cost-effective steps you need to get your device ready and choose the right plan for your next international trip.
Quick summary
Key Takeaway
Explanation
1. Confirm iPhone Compatibility
Check that your iPhone model and iOS version support eSIM before activation.
2. Understand Activation Methods
Familiarize yourself with QR codes, carrier activation, and eSIM Quick Transfer for setup.
3. Choose the Right Data Plan
Assess coverage, data needs, and budget when selecting an eSIM plan for travel.
4. Manage Cellular Plan Settings
Customize plan settings for names, defaults, and data options after activation.
5. Verify Connectivity Post-Activation
Always check signal strength and functionality of calls and data once eSIM is active.
Step 1: Prepare iPhone for eSIM activation
Preparing your iPhone for international travel requires understanding eSIM technology and ensuring your device is compatible. This guide will walk you through the essential steps to activate your eSIM smoothly and efficiently.
Before diving into activation, confirm your iPhone meets the minimum requirements:
- Compatible iPhone Models: iPhone XS, XS Max, XR or newer versions
- iOS Version: Must be running iOS 16.4 or later
- Carrier Support: Mobile carrier that supports eSIM technology
To begin the preparation process, you’ll need a stable internet connection. Your iPhone must be connected to Wi-Fi or a personal hotspot to complete the eSIM setup. Some newer iPhone models can activate eSIMs without Wi-Fi in select countries, but a connection ensures the smoothest experience.
Pro tip: Always check your carrier’s specific eSIM activation instructions, as procedures can vary slightly between providers.
Your activation options typically include:
- eSIM Quick Transfer (moving number from another iPhone)
- Carrier Activation through your mobile provider
- QR Code activation method
Bluetooth Requirement: Ensure Bluetooth is enabled on your device, especially for eSIM transfers between Apple devices.
By following these preparation steps, you’ll be ready to seamlessly activate your international eSIM and stay connected during your travels.
Here’s a quick comparison of eSIM activation methods for iPhones:
Activation Method
Required Hardware
Best Use Scenario
Typical Setup Ease
QR Code
Camera, internet
Remote carrier plan activation
Simple, guided setup
Carrier Activation
Wi-Fi, carrier access
Carrier store or app purchases
Fast, often automatic
eSIM Quick Transfer
Bluetooth, both devices
Switching to new iPhone
Convenient for upgrades
Pro tip: Keep your carrier’s customer support number handy in case you encounter any activation challenges during your international trip.
Step 2: Select and purchase a digital cellular plan
Choosing the right digital cellular plan is crucial for seamless international connectivity during your travels. This step will guide you through selecting and purchasing an eSIM plan that meets your specific travel needs and budget.
Before purchasing, consider the following key factors:
- Coverage: Research carrier networks in your destination countries
- Data Requirements: Estimate your data usage for calls, texts, and internet
- Plan Duration: Select plans matching your travel length
- Budget: Compare prices across different digital cellular providers
When selecting a plan, you have multiple purchasing options:
- Online Purchase: Buy directly from carrier websites or dedicated eSIM platforms
- Mobile Apps: Many carriers offer convenient in-app plan purchases
- Carrier Stores: In-person purchase at local carrier locations
Make sure your iPhone is unlocked to use eSIM plans from different international carriers.
To ensure a smooth purchase, follow these steps:
- Verify your device’s compatibility with international eSIM technology
- Check the global eSIM data plans that match your travel destinations
- Compare pricing, data limits, and validity periods
- Select a plan that provides optimal coverage for your specific route
Important Considerations: Some digital cellular plans offer dual-SIM functionality, allowing you to maintain your home number while using a local data plan. This can provide flexibility and potential cost savings during international travel.
To help you choose the right digital cellular plan, review these key plan attributes:
Attribute
Why It Matters
Impact on Travel Experience
Coverage
Determines call/data access
Reliable connection at destination
Data Allowance
Supports usage needs
Prevents unexpected slowdowns
Plan Duration
Matches trip length
Avoids running out of service
Dual-SIM Support
Home and travel numbers
Enables flexible communication
Pro tip: Purchase your digital cellular plan at least 48 hours before departure to ensure smooth activation and troubleshoot any potential setup issues.
Step 3: Activate eSIM and add cellular plan iPhone
Activating your eSIM and adding a cellular plan to your iPhone is a straightforward process that will ensure seamless international connectivity during your travels. This step transforms your device into a powerful global communication tool with minimal effort.
To begin the activation process, you’ll need to navigate through your iPhone’s settings and have your carrier information ready. Here are the primary activation methods:
- QR Code Method: Scan the carrier-provided QR code
- Carrier Activation: Direct setup through your mobile provider
- eSIM Quick Transfer: Move your number from a previous iPhone
Follow these detailed steps to activate your eSIM:
- Open Settings on your iPhone
- Tap Cellular or Mobile Data
- Select Add Cellular Plan
- Choose your preferred activation method
Ensure your iPhone is running iOS 16 or later for the smoothest eSIM activation experience.
For those using the QR code method, you’ll want to carefully scan the code provided by your carrier. If you’re utilizing the eSIM connectivity guide, make sure you have all necessary information prepared before starting.
Activation Tips:
- Keep Bluetooth enabled during eSIM transfer
- Have both old and new devices close together
- Label your cellular plans for easy management
- Set default lines for calls, messages, and data
After activation, you can customize your cellular plan settings, including switching between multiple plans and managing data usage. Some carriers automatically assign an eSIM upon purchase, which can simplify the entire process.
Pro tip: Restart your iPhone after activation to ensure all cellular settings are properly configured and take full effect.
Step 4: Verify connectivity and manage plan settings
After activating your international eSIM, confirming connectivity and managing your cellular settings becomes crucial for a seamless travel experience. This step ensures your iPhone is fully prepared to keep you connected across different networks and destinations.
To verify your eSIM connectivity, navigate through your iPhone’s settings with these key steps:
- Open Settings
- Tap Cellular or Mobile Data
- Check for Active Cellular Plan indicator
- Confirm signal strength and network connection
Your cellular plan management offers several customization options:
- Plan Labeling: Assign names like “Personal” or “Travel”
- Default Line Selection: Choose primary line for calls and messages
- Data Switching: Enable automatic network optimization
Enabling Cellular Data Switching allows your iPhone to intelligently select the best available network.
After exploring the eSIM connectivity guide, you’ll want to pay special attention to these critical settings:
- Verify signal bars are visible
- Check data connection is functioning
- Test call and messaging capabilities
- Review roaming settings
Troubleshooting Tips:
- Restart your iPhone if no signal appears
- Ensure airplane mode is disabled
- Check carrier settings are up-to-date
- Confirm you’re within carrier coverage area
By carefully managing your cellular plan settings, you’ll maximize your international connectivity and avoid unexpected communication challenges during your travels.
Pro tip: Take screenshots of your cellular settings as a backup in case you need technical support while traveling.
Stay connected globally with effortless eSIM activation from KnowRoaming
Travelers often face frustrating challenges when trying to add a cellular plan to their iPhones for international journeys. Common pain points like complicated activation steps, uncertain coverage, and hidden roaming charges can disrupt your trip and steal your peace of mind. This article breaks down the essentials of activating an eSIM and managing multiple plans, but the real solution lies in a seamless, reliable service that simplifies everything.
Experience true freedom with KnowRoaming’s easy-to-use international eSIM solutions designed specifically for travelers who want hassle-free connectivity worldwide. Avoid costly roaming fees, enjoy instant activation, and manage all your plans directly on your iPhone with transparent pricing and broad coverage. Start your journey confidently knowing your calls, texts, and data are fully supported wherever you roam. Discover how simple adding a cellular plan can be by visiting KnowRoaming and explore digital cellular plans crafted for global travel. Get ahead of your trip by activating your eSIM today and never worry about losing connection again.
자주 묻는 질문
How to use an eSIM while backpacking is surprisingly simple. First, ensure your phone is unlocked and eSIM-compatible. Then, download the provider's app (like KnowRoaming's). You can choose your plan and add the eSIM digitally through the app, often by scanning a QR code. Once added, just enable data roaming for your eSIM, and you're ready to go, no physical cards or airport kiosks needed.
No swapping SIM cards, no kiosk queues at the airport, set it up once and it's ready every time after.
With KnowRoaming, setup takes less than five minutes. Using the automatic setup in the KnowRoaming app, you can download and add your eSIM in just a few taps. This makes it one of the fastest and most reliable ways to get connected before your trip.
Simply add the eSIM profile on your unlocked, eSIM-compatible device before you travel. Once you arrive in a supported country, turn on your eSIM, and you'll be connected!
You can buy your eSIM right before you leave, or when you arrive at your destination. It is an easy process that simply requires a stable Internet connection.
If you delete the eSIM profile from your phone, it can no longer connect to the network on that plan, although the plan itself is not canceled. To get it back, rescan the QR code you were sent with your eSIM purchase, or re-add it from the KnowRoaming app, and you can be up and running again quickly.
To prepare your iPhone for eSIM activation, ensure that your device is compatible, running iOS 16.4 or later, and connected to Wi-Fi or a personal hotspot. Verify your mobile carrier supports eSIM technology, and check their specific activation instructions for a smooth setup.
The best methods to activate an eSIM on your iPhone include using a QR code, carrier activation through your mobile provider, or utilizing eSIM quick transfer if you’re switching from another iPhone. Follow the specific steps for your chosen method within your iPhone’s Settings to ensure a successful activation.
When selecting a digital cellular plan for international travel, consider coverage needs, your estimated data usage, the plan duration, and your budget. Compare prices and options to find a plan that aligns with your travel itinerary and connectivity requirements.
To verify your eSIM connectivity, go to Settings, select Cellular or Mobile Data, and check for an Active Cellular Plan indicator with visible signal strength. Additionally, test your ability to make calls and send messages to ensure your connection is functioning correctly.
If you encounter issues with your eSIM after activation, try restarting your iPhone and ensuring that airplane mode is disabled. You can also check for any available carrier settings updates and confirm that you are within your carrier’s coverage area to resolve connectivity problems.
You can customize your cellular plan settings by accessing Settings, then Cellular or Mobile Data, and editing labels, selecting default lines, and managing data usage. Organizing your plans appropriately can help streamline your usage and maintain flexibility while traveling.