
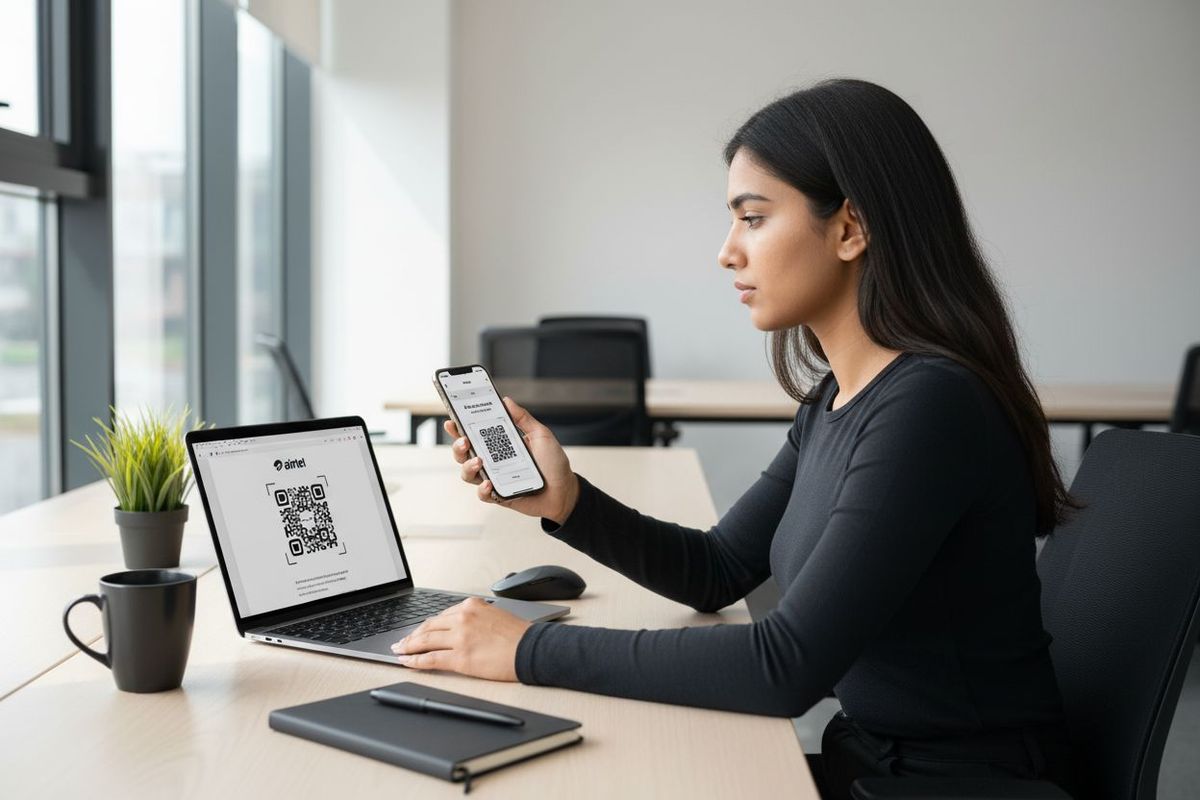
Airtel eSIM process for iPhone, step-by-step activation guide
Did you know that over half of new iPhone models now support eSIM technology? Making the switch to an Airtel eSIM can mean faster activations, less hassle, and instant access to reliable mobile service without a physical SIM card. Whether you travel frequently or just want a more flexible mobile setup, understanding how to activate and optimize your Airtel eSIM can simplify your life and keep you connected wherever you go.
Quick summary
Key Point
Explanation
1. Confirm Device Compatibility
Check your iPhone model supports eSIM before activation to avoid issues.
2. Request eSIM QR Code
Use SMS or the Airtel Thanks App to obtain your eSIM QR code efficiently.
3. Follow Setup Steps
Scan the QR code and complete settings to activate your Airtel eSIM seamlessly.
4. Configure Settings for Travel
Prepare your iPhone for international use by verifying roaming is enabled.
5. Test Your Connectivity
Make calls and use data to ensure your eSIM functions correctly before traveling.
Step 1: Check Airtel eSIM eligibility on your iPhone
Before diving into the Airtel eSIM activation process, you first need to confirm your iPhone is compatible. Not all devices support eSIM technology, so checking eligibility is your crucial first step. This section will walk you through verifying whether your iPhone meets Airtel’s requirements for digital SIM activation.
To check your iPhone’s eSIM eligibility, start by identifying your device model. Airtel supports eSIM functionality for iPhone models XS, XR, and all newer versions running iOS 12 or later. You can easily confirm your iPhone’s compatibility by following these straightforward steps:
- Open the “Settings” app on your iPhone
- Tap “General”
- Select “About”
- Look for an “Available SIM” or “Cellular Plans” section
If you see options related to adding a cellular plan or eSIM, your device is ready for Airtel’s digital SIM. Pro tip: Have your iPhone’s model number handy. You can find this by going to Settings > General > About > Model Name.
For iPhone users uncertain about their specific model, Airtel recommends checking the device specifications or contacting their customer support for definitive confirmation. Remember that having a compatible device is just the first step toward enjoying the convenience of an eSIM.
Ready to move forward? The next section will guide you through the actual eSIM activation process with Airtel. Stay tuned for simple, step-by-step instructions that will have you connected in no time.
Warning: Always verify your device compatibility before attempting eSIM activation to prevent potential connectivity issues.
Step 2: Request and receive your Airtel eSIM QR code
Now that you have confirmed your iPhone supports eSIM technology, it is time to request your Airtel eSIM QR code. This crucial step transforms your digital SIM activation from possibility to reality. You have two primary methods to obtain your eSIM QR code quickly and efficiently.
Method 1: SMS Request If you have an existing Airtel phone number, you can request your eSIM through a simple SMS. Open your messaging app and send an SMS to 121 with the format: “eSIM ”. Within minutes, Airtel will respond with instructions. When prompted, reply with ‘1’ to confirm your request. Keep an eye on your registered email inbox where Airtel will send your unique eSIM QR code.
Method 2: Airtel Thanks App For a more digital approach, download the Airtel Thanks app from the App Store. After logging in with your Airtel account, navigate to the eSIM upgrade section. You will need your device’s 32-digit EID number which you can find in your iPhone settings. The app will guide you through a verification process involving an OTP and a confirmation call. After successful verification, Airtel will email your eSIM QR code.
Pro Tip: Ensure your registered email address is current and accessible. The QR code will be sent exclusively to this email.
Whether you choose SMS or the app method, the entire process typically takes around two hours. Once you receive the QR code, you are just steps away from activating your digital SIM.
Our next section will walk you through scanning and adding your new Airtel eSIM.
Here’s a quick comparison of the two methods for requesting your Airtel eSIM QR code:
Method
Process Steps
Requirements
SMS Request
Send SMS to 121
Reply ‘1’ to confirm
Receive QR by email
Registered Airtel number
Active email address
Airtel Thanks App
Login to app
Navigate to eSIM upgrade
Verify EID & OTP
Receive QR by email
Airtel Thanks app
Device EID
Active email address
Ready to move forward with activation? Support is just a click away if you encounter any challenges during the process.
Step 3: Add and activate Airtel eSIM on iPhone
You have successfully obtained your Airtel eSIM QR code and are now ready to complete the final activation steps. This crucial stage transforms your digital SIM from a code to a fully functional mobile service on your iPhone. The process is straightforward and will take just a few minutes of your time.
To begin the setup, ensure you are connected to a stable Wi-Fi or mobile data network. Open the notification that says ‘Finish Setting Up Mobile Service’ or navigate manually to your iPhone settings. Here are the precise steps to activate your Airtel eSIM:
- Go to Settings > Mobile Data > Add Cellular Plan
- Tap ‘Add Cellular Plan’ or ‘Scan QR Code’
- Use your iPhone camera to scan the Airtel eSIM QR code you received via email
- Follow the on-screen prompts to complete the setup
- Choose your preferred default line for calls and mobile data
After successful scanning and setup, your iPhone will automatically configure the new eSIM. The system typically takes around two hours to fully activate the digital SIM. During this time, your physical SIM will remain active but will be automatically deactivated once the eSIM is fully operational.
Important Tip: Keep your physical SIM card safe until the eSIM is completely activated. This ensures you maintain continuous mobile connectivity.
Once the activation is complete, restart your iPhone to ensure smooth integration of the new eSIM. If you encounter any challenges during activation, our support team is ready to help.
Congratulations. You have now successfully transformed your mobile experience with an Airtel eSIM. Enjoy the convenience of digital SIM technology on your iPhone.
Step 4: Configure mobile settings for international access
With your Airtel eSIM now activated, it is time to prepare your iPhone for seamless international connectivity. This critical step ensures you can use your mobile data smoothly while traveling abroad without unexpected interruptions or connectivity challenges.
Before departing, take these essential preparatory steps to configure your mobile settings:
- Open your iPhone Settings app
- Tap ‘Cellular’ or ‘Mobile Data’
- Select ‘Cellular Plans’
- Verify your Airtel eSIM is set as the default data plan
- Enable ‘Roaming’ under cellular settings
To maximize your international mobile experience, download the Airtel Thanks app before traveling. This app allows you to monitor your data usage, track international roaming charges, and quickly access support if needed. Always have a backup of your eSIM activation details stored securely in your email or a cloud storage service.
Pro Tip: Take screenshots of your eSIM activation details and save them offline as a backup in case of connectivity issues.
If you encounter any connectivity problems while abroad, your first step should be checking cellular data settings. Ensure roaming is enabled and you have selected the correct cellular plan. For comprehensive international travel support, our expert team is ready to assist you.
Remember that international roaming can incur additional charges. Always review your specific Airtel international roaming plan and data rates before traveling to avoid unexpected expenses.
Step 5: Verify and test Airtel eSIM connectivity
With your Airtel eSIM now added, the final crucial step is confirming that your digital SIM works perfectly. Testing connectivity ensures you will have uninterrupted mobile service during your travels. This verification process will help you identify and resolve any potential issues before they impact your communication.
To comprehensively test your Airtel eSIM connectivity, follow these systematic steps:
- Make a test phone call using the eSIM
- Send a test SMS message
- Check mobile data functionality by browsing a website or running a speed test
- Verify that incoming calls and messages are received correctly
- Switch between your physical SIM and eSIM to confirm smooth transitions
Remember that during the initial two-hour activation period, your physical SIM will remain active. Do not delete the eSIM profile during this configuration phase. On iPhones with dual SIM support, you can manage your lines by navigating to Settings > Mobile Data, where you can select which line to use for cellular data and calls.
Pro Tip: Use the Airtel Thanks app to monitor your eSIM status and data usage in real time.
If you encounter any connectivity issues, restart your iPhone or contact Airtel’s international support team for immediate assistance. Most problems can be quickly resolved with their professional guidance.
Congratulations. You have successfully activated and tested your Airtel eSIM. Enjoy seamless international mobile connectivity without the hassle of traditional roaming.
Upgrade to true global connectivity with KnowRoaming eSIM
If setting up your Airtel eSIM for iPhone made you anxious about roaming charges, SIM swaps, or dealing with clunky activation steps, you are not alone. Many travelers face hassle and hidden fees when relying on traditional mobile operators or are worried their phone setup will break down when they need it most. You want instant access, clear pricing, and freedom from the pain of managing multiple SIM cards or searching for public Wi-Fi. That is where KnowRoaming creates real peace of mind.
Imagine activating easy, affordable global data in just minutes right from your phone, with coverage in over 133 countries and no uncertainty about your bill. It is time to skip complicated carrier processes and put travel connectivity in your own hands. Visit KnowRoaming’s homepage and discover how our digital eSIM plans give you instant, reliable data wherever you go. For personalized help with setup or troubleshooting, check out our support center so your trip never misses a beat. Start your journey with KnowRoaming now and enjoy seamless international data the way it should be.
Häufig gestellte Fragen
How to use an eSIM while backpacking is surprisingly simple. First, ensure your phone is unlocked and eSIM-compatible. Then, download the provider's app (like KnowRoaming's). You can choose your plan and add the eSIM digitally through the app, often by scanning a QR code. Once added, just enable data roaming for your eSIM, and you're ready to go, no physical cards or airport kiosks needed.
No swapping SIM cards, no kiosk queues at the airport, set it up once and it's ready every time after.
With KnowRoaming, setup takes less than five minutes. Using the automatic setup in the KnowRoaming app, you can download and add your eSIM in just a few taps. This makes it one of the fastest and most reliable ways to get connected before your trip.
Yes, it's best to add your eSIM before you travel so you can connect as soon as you land. KnowRoaming makes this easy with automatic setup via the KnowRoaming app, or you can use the QR code option for manual setup.
You can buy your eSIM right before you leave, or when you arrive at your destination. It is an easy process that simply requires a stable Internet connection.
If you delete the eSIM profile from your phone, it can no longer connect to the network on that plan, although the plan itself is not canceled. To get it back, rescan the QR code you were sent with your eSIM purchase, or re-add it from the KnowRoaming app, and you can be up and running again quickly.
To check if your iPhone supports Airtel eSIM, identify your device model. Ensure it is an iPhone XS, XR, or a newer model running iOS 12 or later by navigating to Settings > General > About. Look for the ‘Available SIM’ or ‘Cellular Plans’ section to confirm eligibility.
You can request your Airtel eSIM QR code either by sending an SMS to 121 or through the Airtel Thanks app. If using SMS, type “eSIM ” and follow the instructions received. For the app method, log in, navigate to the eSIM upgrade section, and follow the on-screen prompts to receive your code.
To activate your Airtel eSIM, go to Settings > Mobile Data > Add Cellular Plan and tap ‘Scan QR Code’. Use your iPhone camera to scan the QR code you received via email and follow the prompts to complete the setup. Ensure you are connected to Wi-Fi as the process typically takes around two hours to complete.
To prepare your iPhone for international roaming, open Settings, navigate to Cellular or Mobile Data, and verify your Airtel eSIM is set as the default plan. Enable roaming under cellular settings before you travel to ensure seamless connectivity abroad.
To verify that your Airtel eSIM is functioning, try making a test call, sending an SMS, and browsing the internet. Make sure to check that incoming calls and messages are received correctly. Switch back and forth between your physical SIM and eSIM to confirm that the transitions are smooth.
If you face connectivity issues, first restart your iPhone to refresh the connection. If problems persist, check that roaming is enabled under your settings and consider reaching out for assistance if needed. Following these steps typically resolves most connectivity issues swiftly.